Martha Stewart for Dummies: An Easy Photo Storage Solution
Fact of Life #74: People who travel take photographs. Too many, usually. Back in the day, these photos returned from the processing lab and landed in drawers, shoeboxes and shopping bags waiting for the big day when they would “go into the album.” Today, they sit in limbo on your camera phone or SanDisk, one errant finger swipe away from deletion. I recently decided to take a few baby steps towards organizing my photos and turned to the source for all good things, Martha Stewart, for advice.
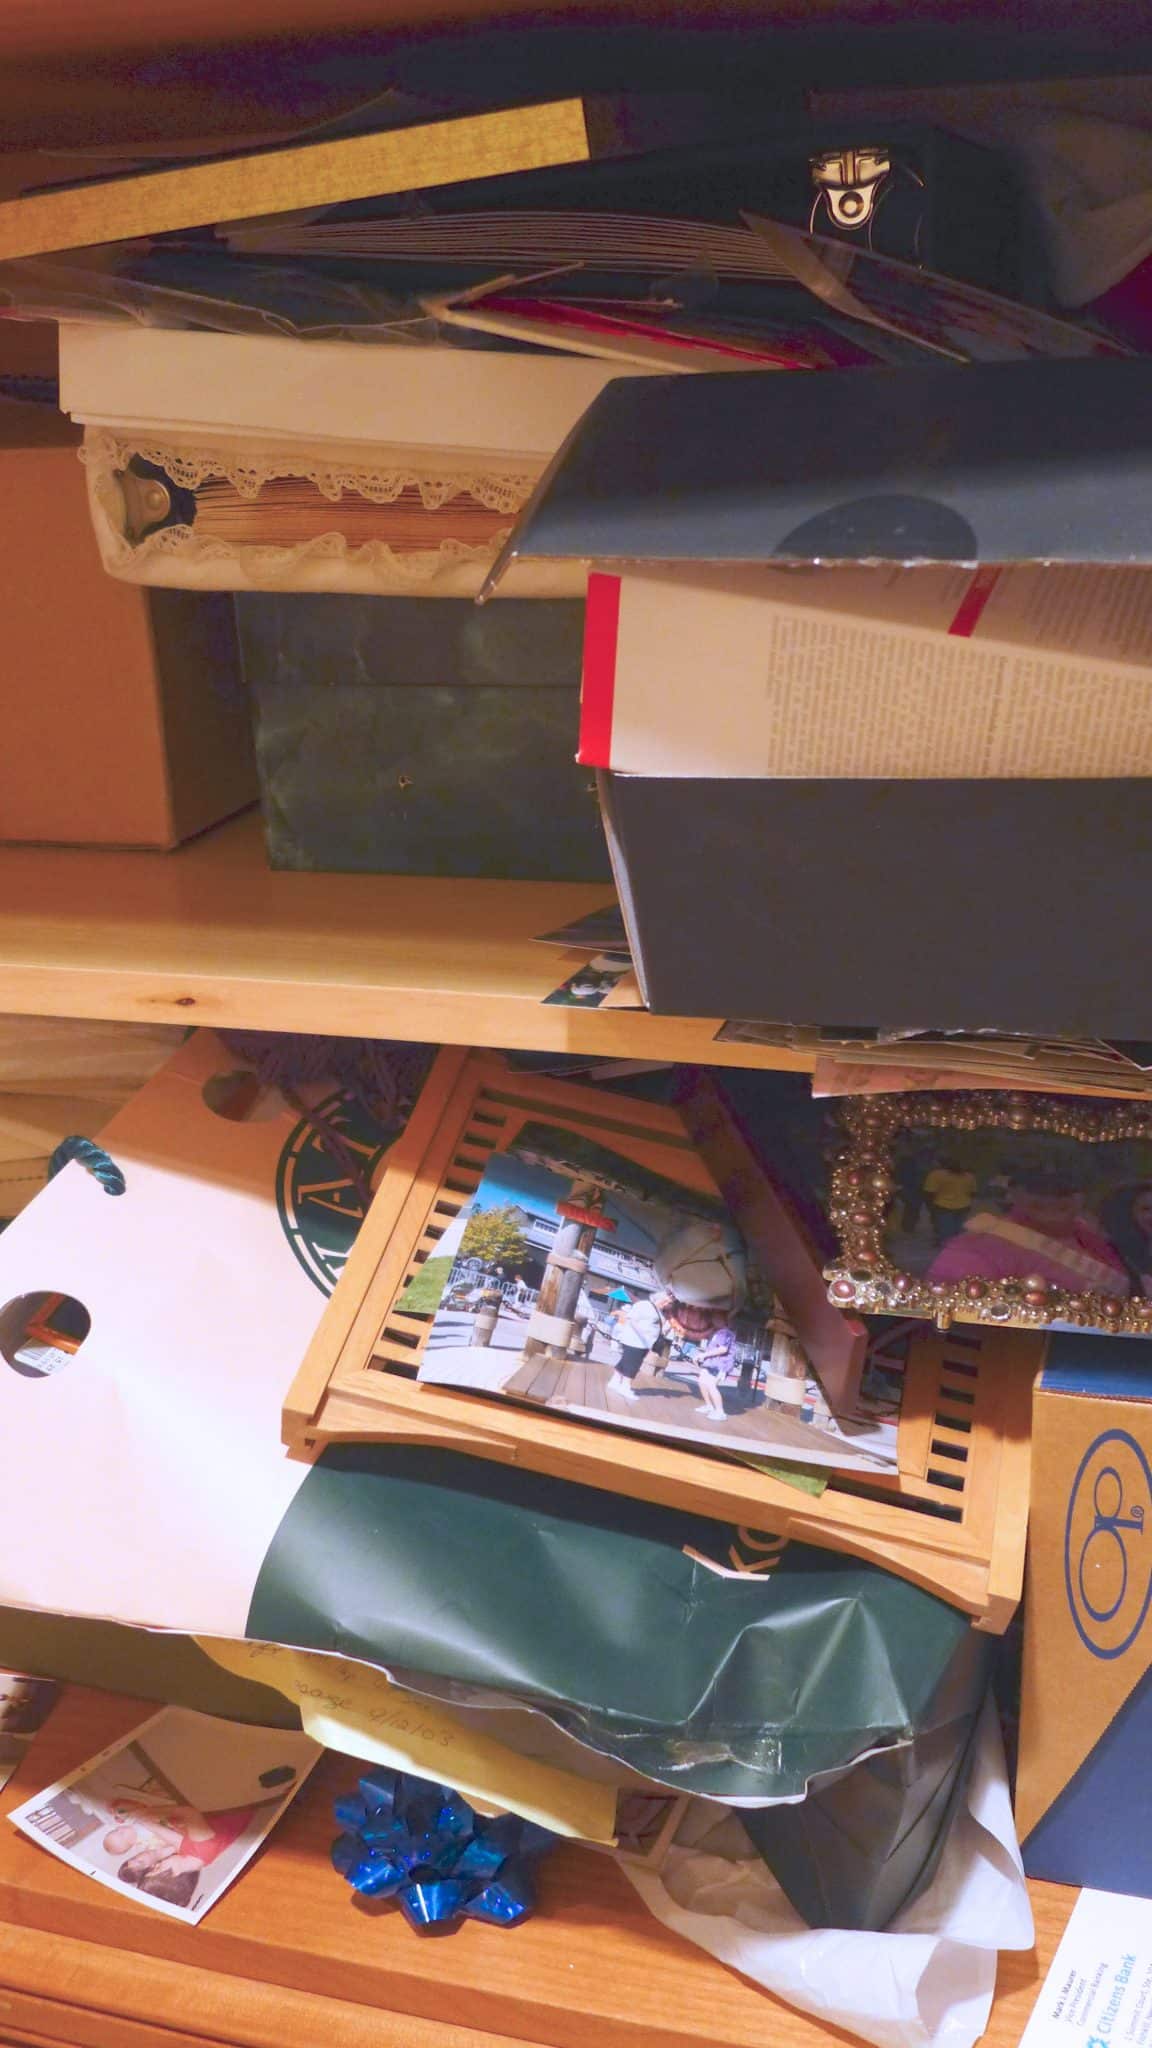
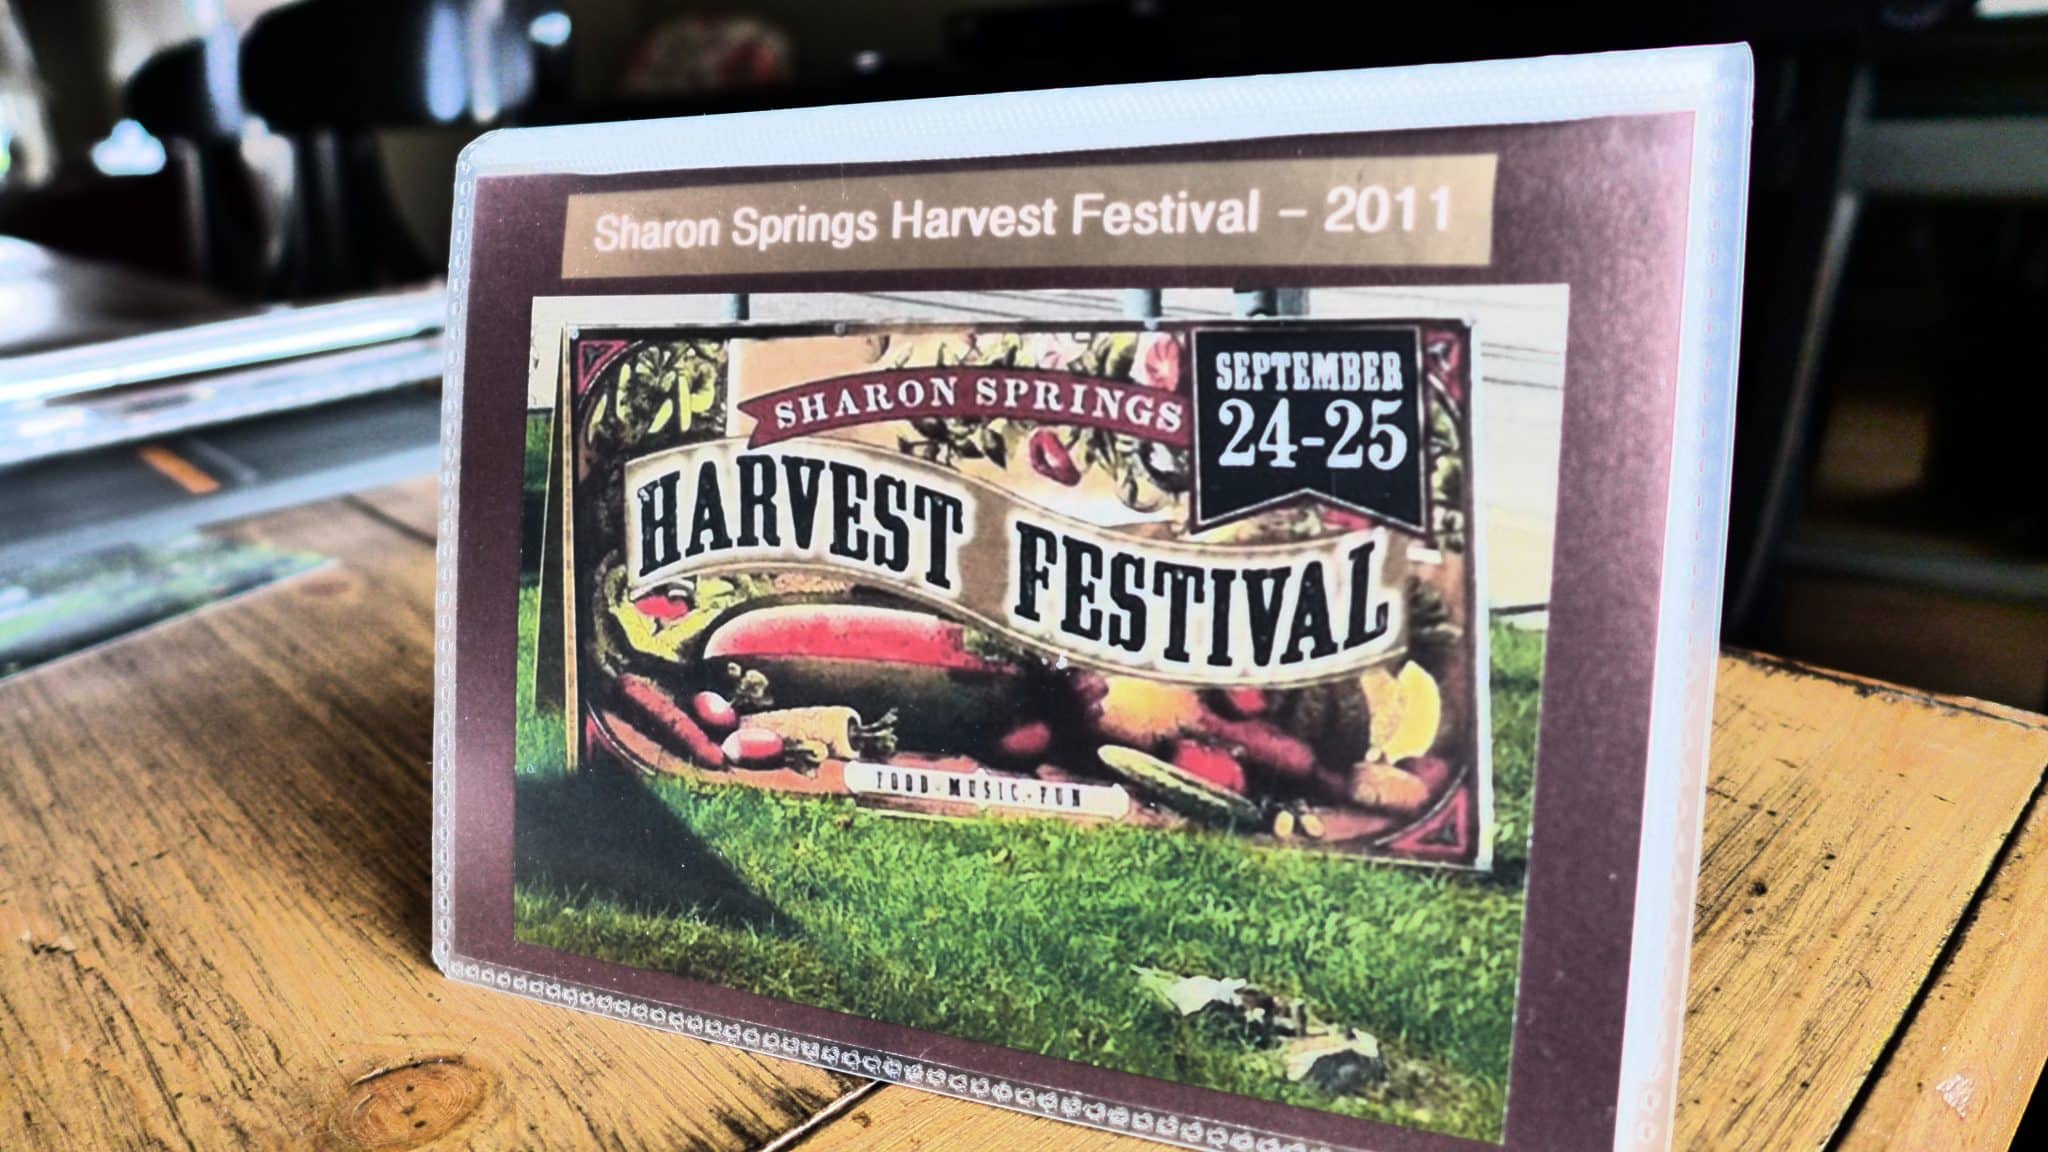
Her how-to video on creating a Photo Flipper offered a solution that would work cheaply and quickly, my favorite two craft words. I watched the video, gathered my supplies and proceeded to turn out shabby replicas of Martha’s delightful photo books.
Where had I gone wrong? Fuzzy bits of product label gummed up the front and back and I tore page after page trying to wrestle the covers out of the sleeves. It wasn’t the first time I’d failed in my efforts to replicate Martha. If you want to start my kids howling, ask them about fondue night.
But I loved the idea of the albums so I rededicated my efforts and came up with a number of hints that will help you generate a B-plus effort. To begin, gather glossy prints that will fill your flipper plus one for the cover and put them in the order you’d like. Arrange horizontal photos to all face the same direction.
1. Sticker Residue
No matter how carefully you peel the stickers from the flippers, there will be residue left behind.
Grab a bottle of Goo Gone and lightly spritz a paper towel. Gently rub off the residue. Then go over the covers with a slightly water-dampened paper towel and let dry completely before proceeding. Your cover will be fuzz-free.
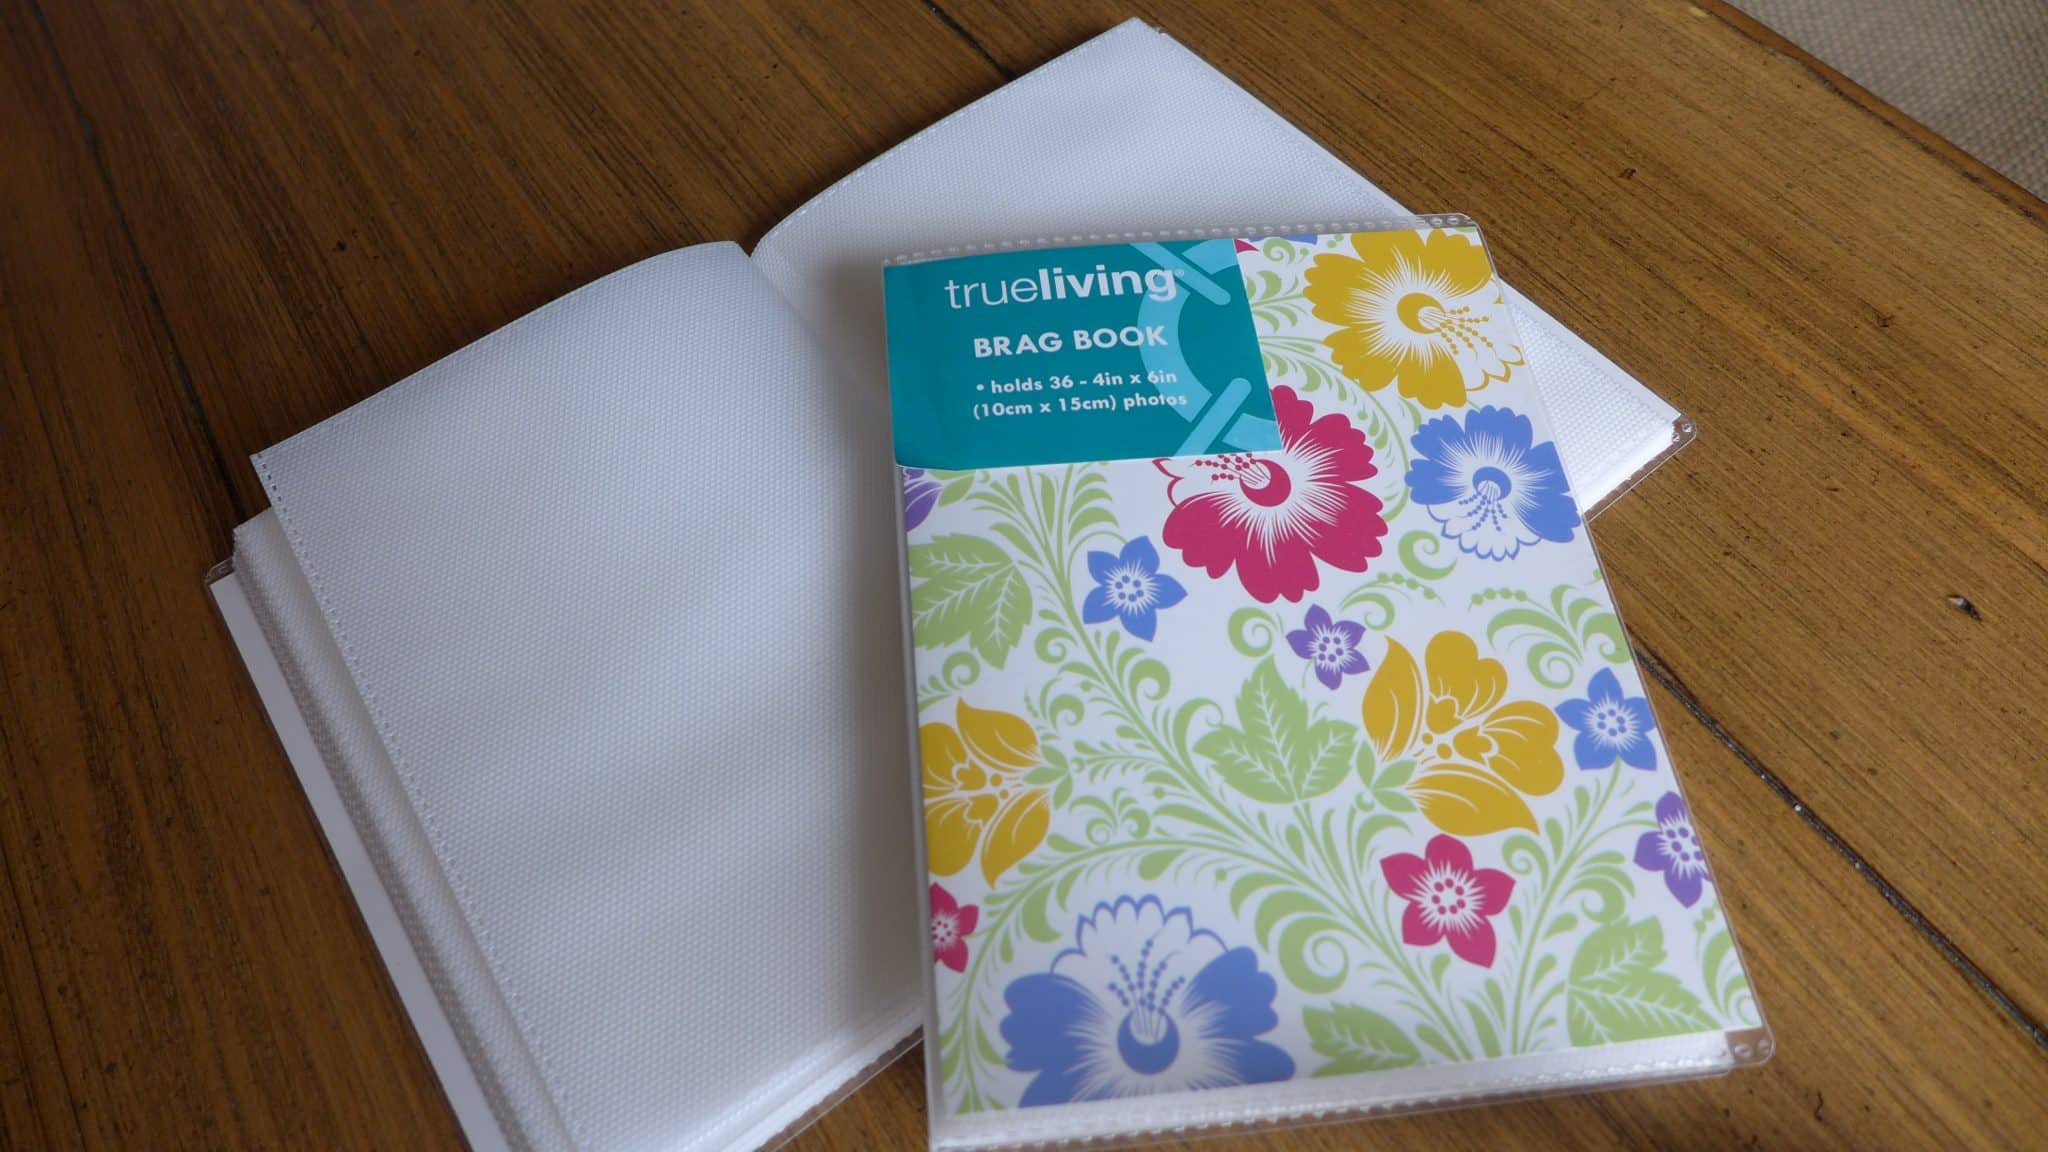
2. $1
Never forget that you’re starting with plastic photo sleeves from the Dollar Store. They are cheap because they’re poorly made. If you maneuver the cover cards out of their sleeves with your fingers, you will tear the pages. Use tweezers and patiently slide the cards out.
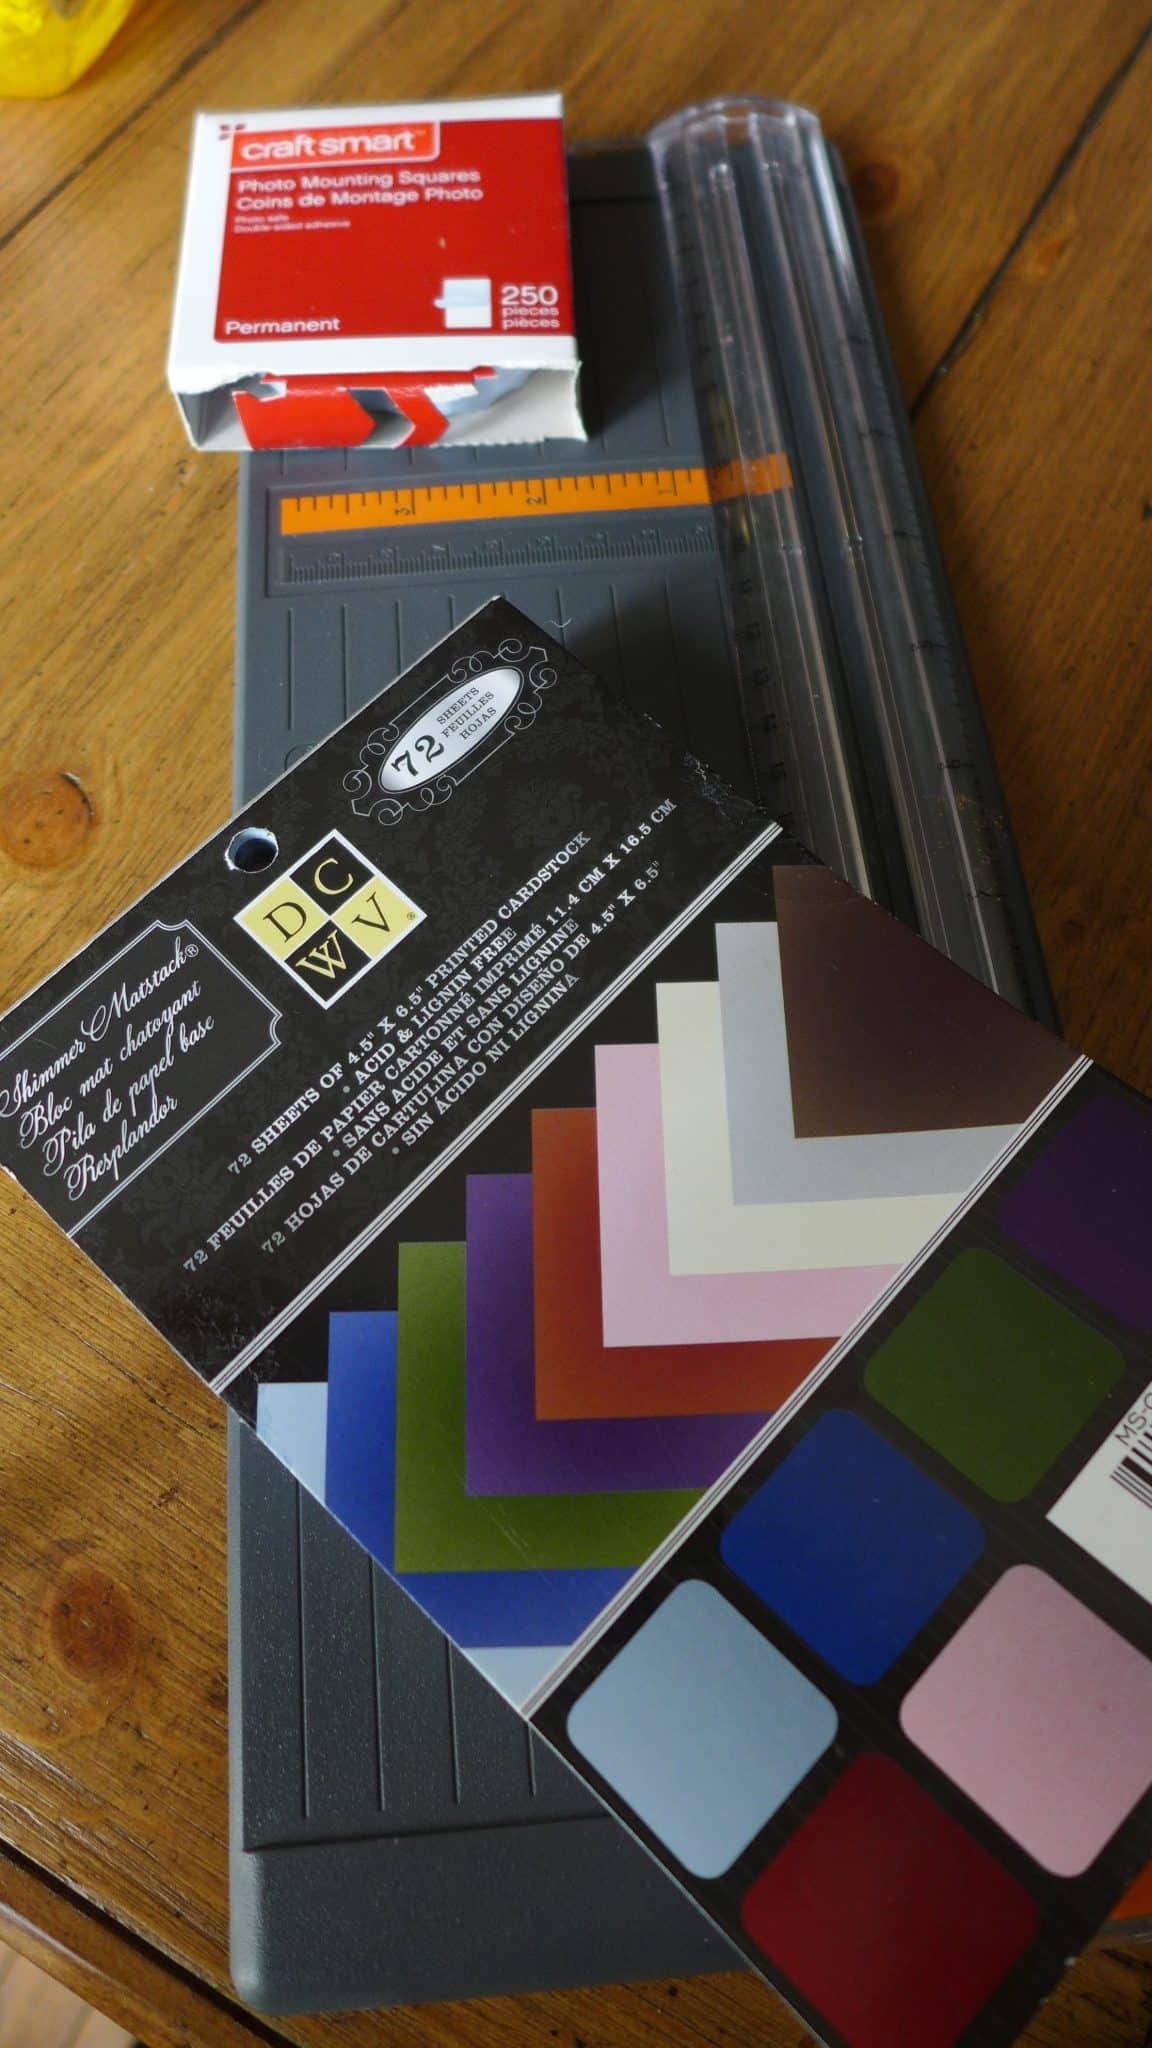
3. Sharp Blade
All pre-cut craft store card stock will be sized larger than 4×6, because craft store people assume you’ll be using these cards as frames for a 4×6 photo. You will need to cut your stock to fit. Don’t use scissors. An inexpensive paper trimmer will give you neater results IF you use a sharp blade.
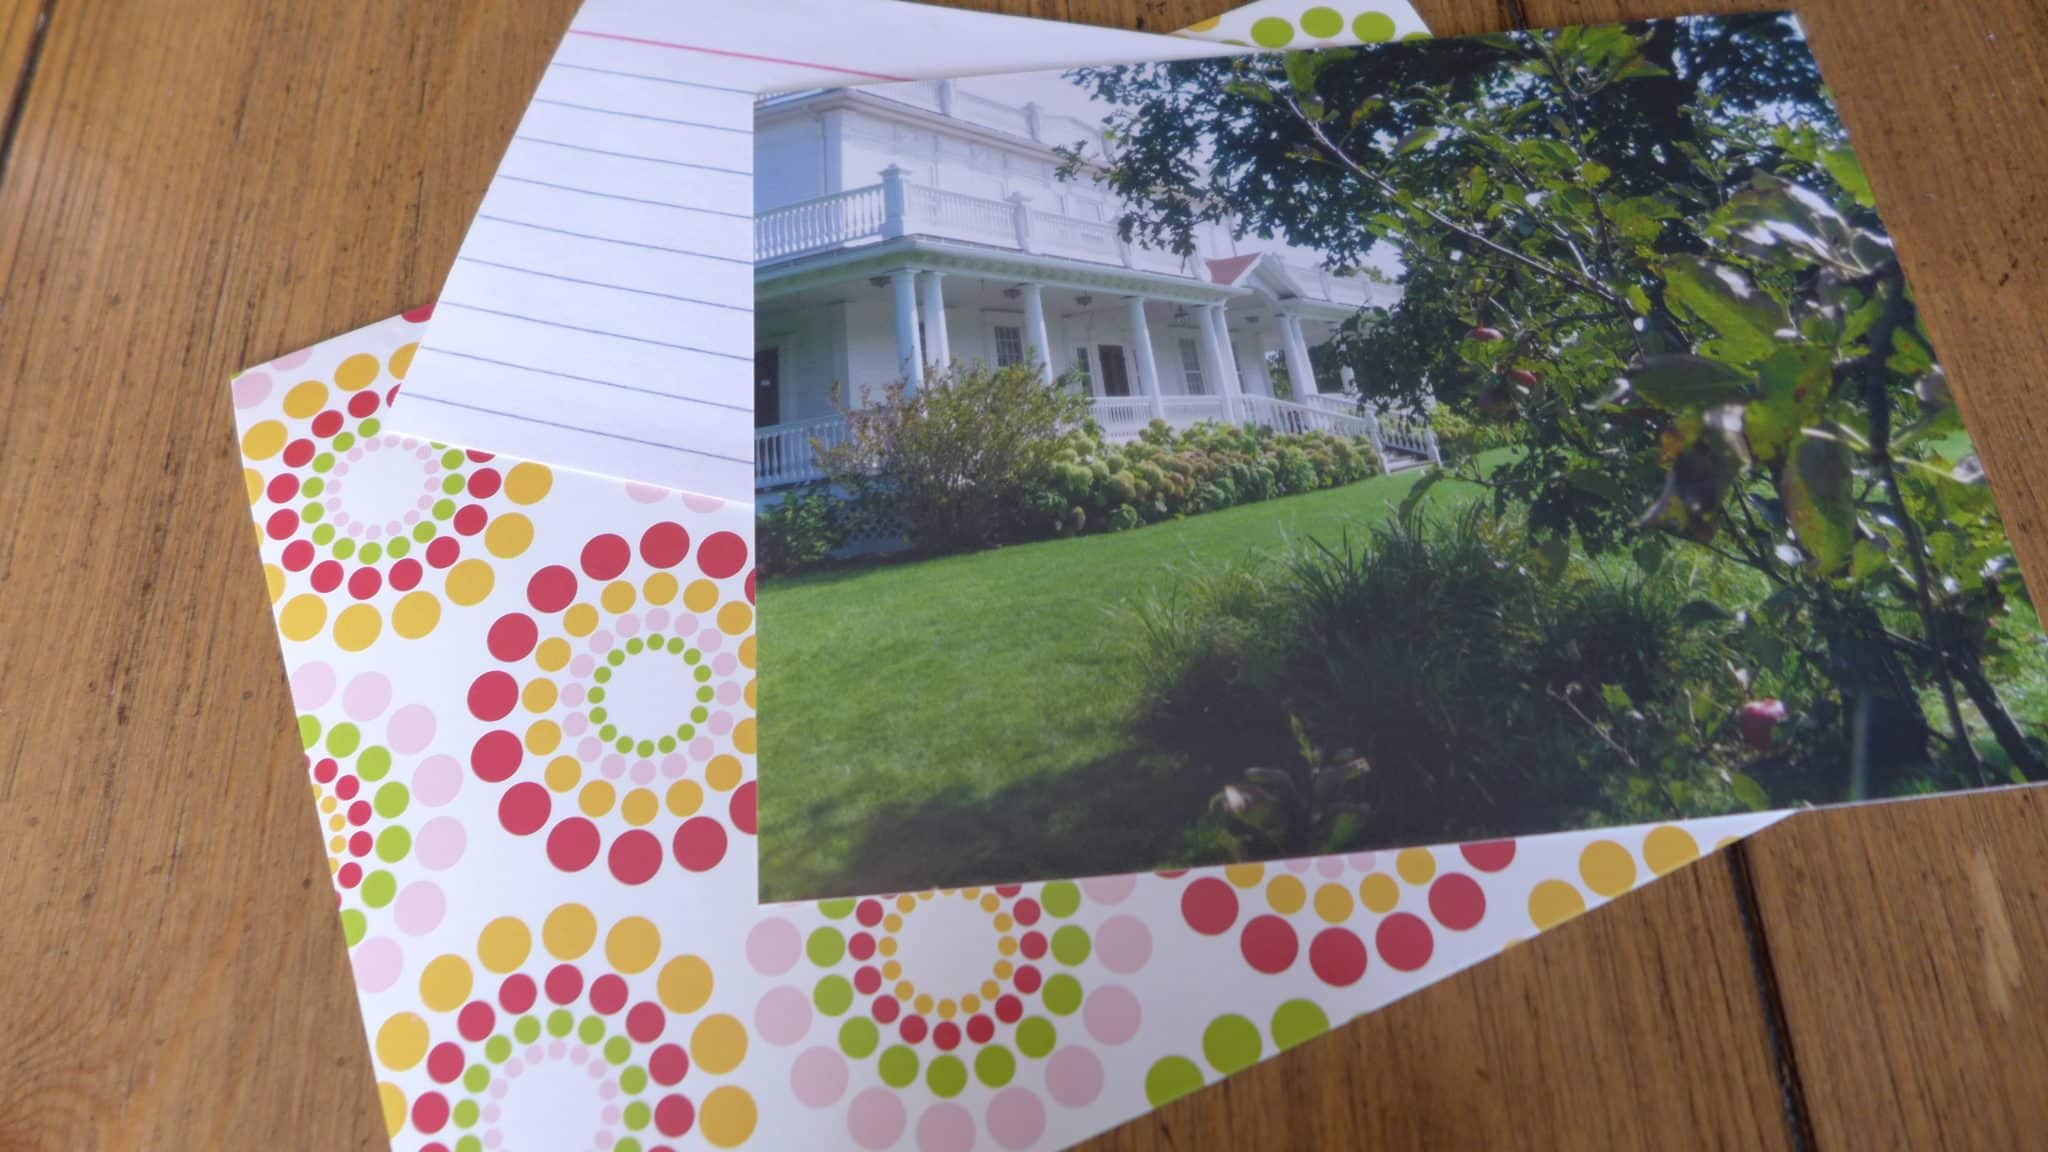
4. Templates
Use the card that came with the flipper as a template for your new cover. As for the cover photo, I originally thought an index card would make a good template, but it’s too small. I gradually make narrow slices from the sides, top and bottom until I have an image that leaves adequate room for the album title.
5. Label
Don’t feel you have to P-Touch. If you have nice handwriting, use it. I, however, am not blessed in that regard.
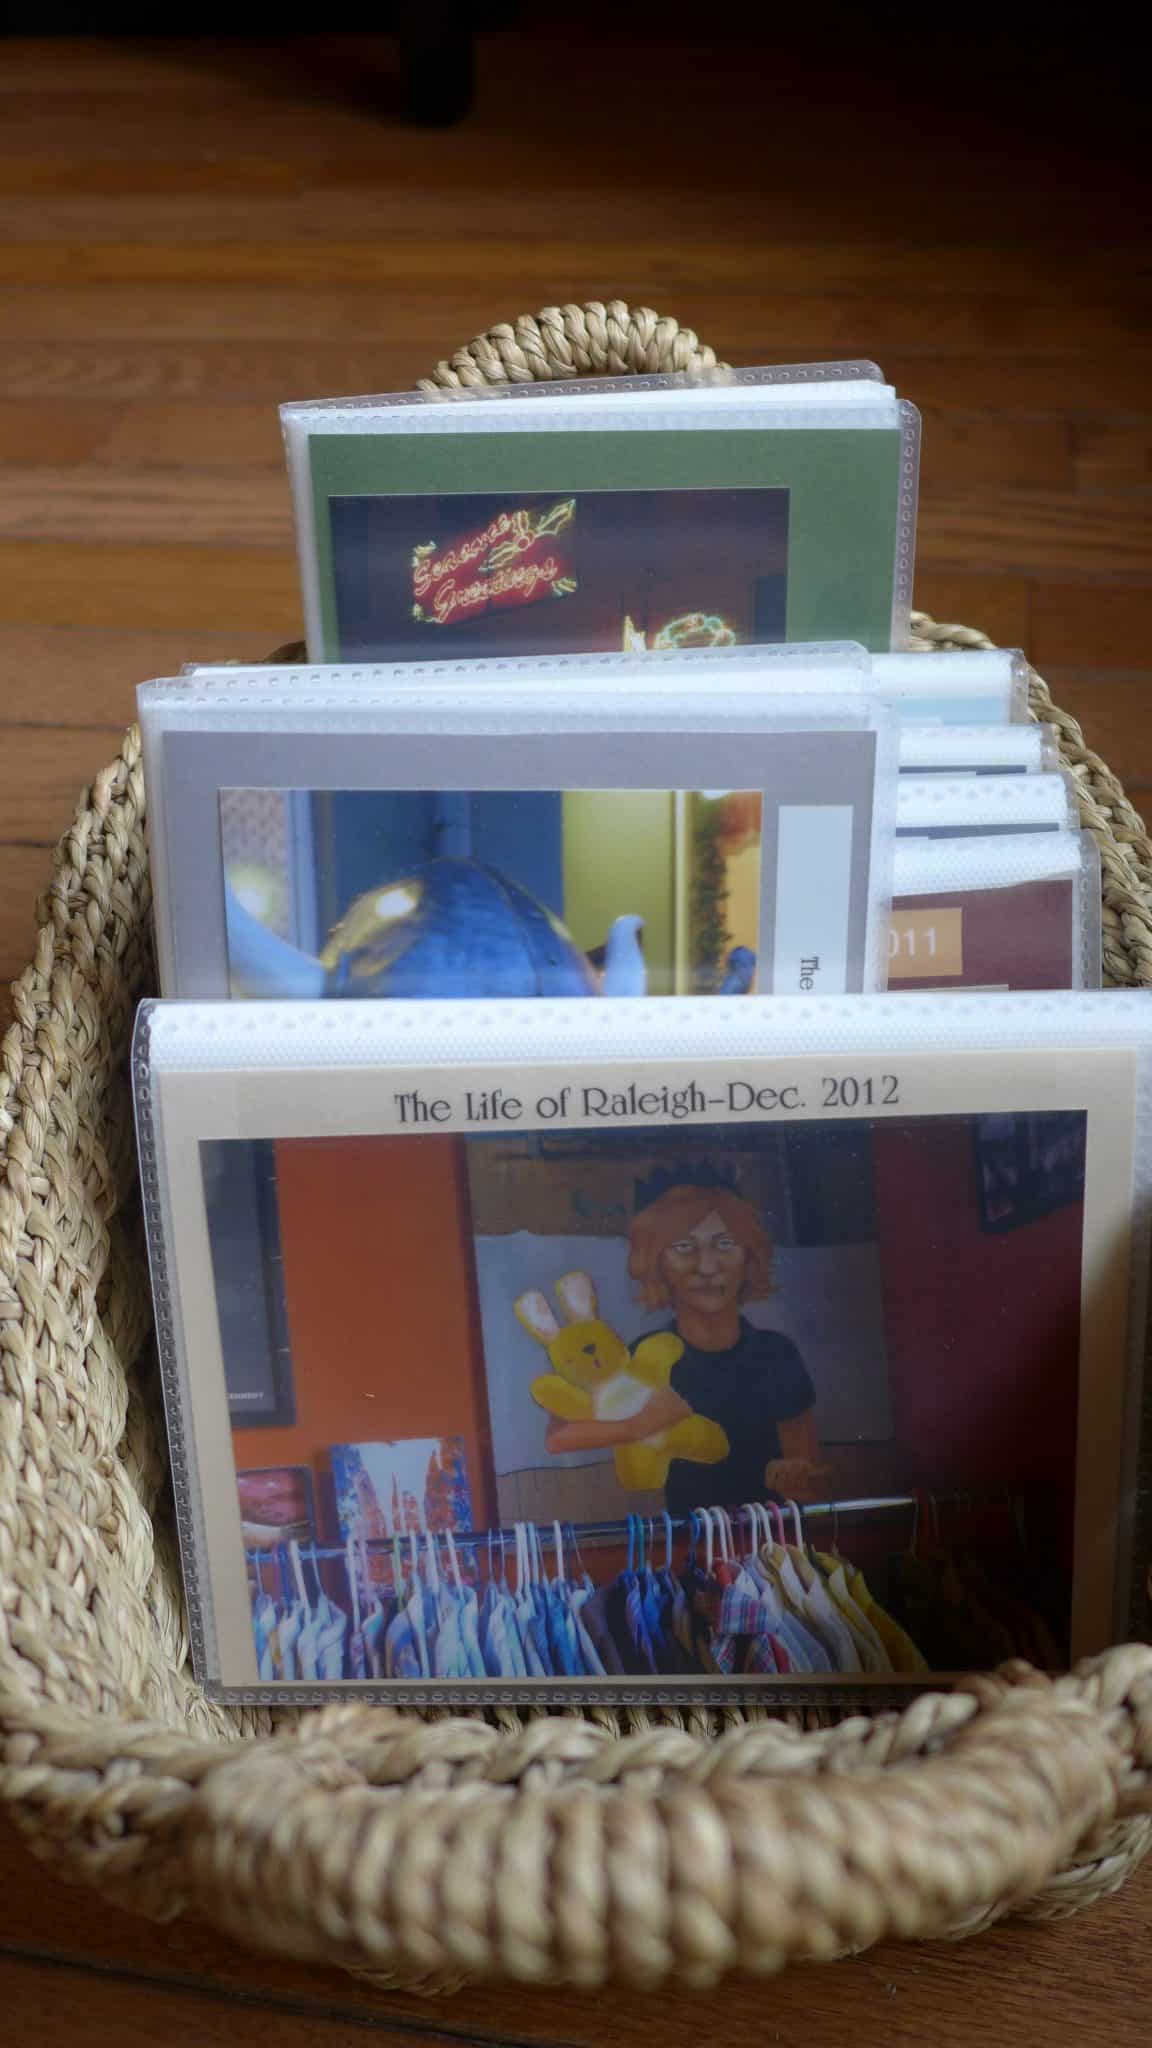
Once you’ve assembled your tools and the photos, these flippers can be assembled in 15 minutes or less. Display your collections in baskets or boxes, in your home and/or office. Visitors love to see the places you’ve been.